Unlock the Secret to Superior Spread: Easy Homemade Almond Butter
Imagine a spread so fresh, so rich, and so perfectly tailored to your taste buds that it makes store-bought versions pale in comparison. That's the magic of homemade almond butter! Forget those jars with questionable oils, added sugars, and hefty price tags. Learning how to make homemade almond butter is a game-changer for your pantry and your palate. It's surprisingly simple, incredibly rewarding, and produces a product that is undeniably fresher, cheaper, and profoundly better than anything you'll find on a supermarket shelf.
Just like whipping up your own peanut butter or hazelnut butter, DIY almond butter is a straightforward process that grants you complete control over ingredients and flavor. Ready to dive into the world of silky-smooth, custom-crafted almond goodness? Let's get started!
The Essential Ingredients: Simplicity at Its Best
One of the most appealing aspects of homemade almond butter is its minimalist ingredient list. You truly only need one core item, with a couple of optional additions that can elevate the flavor and texture even further.
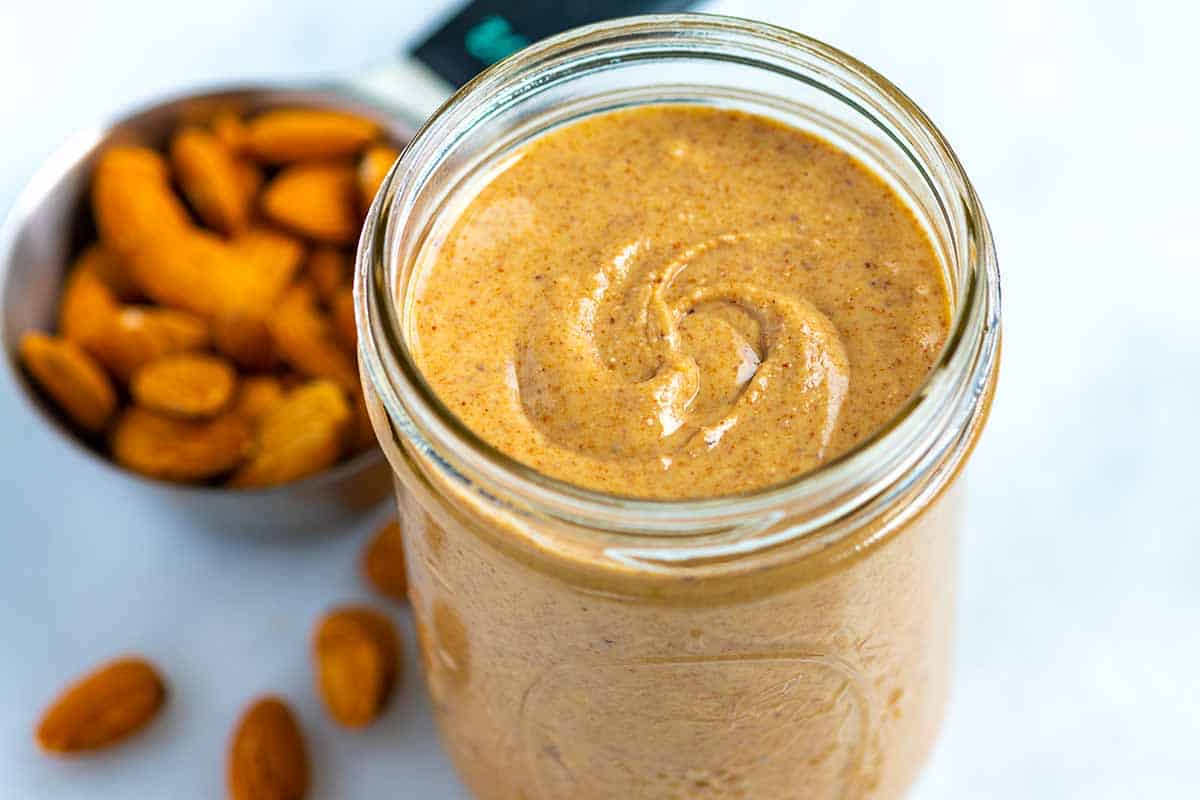
- Raw Almonds: This is your star ingredient. While you can start with pre-roasted almonds, beginning with raw almonds and toasting them yourself is the secret to unlocking the most vibrant, complex flavor profile. Freshly roasted nuts release their oils more readily and offer a depth of taste that pre-packaged roasted nuts often lack.
- Salt (Optional, but Recommended): A pinch of fine sea salt acts as a flavor amplifier. It doesn't make your almond butter taste overtly salty; rather, it brightens and enhances the natural nuttiness of the almonds, creating a more balanced and appealing taste.
- Neutral Oil (Optional): In most cases, if your almonds are adequately roasted and your food processor is powerful, you won't need extra oil. However, if you find your mixture struggling to become super creamy, especially when using drier raw almonds, a tablespoon or two of a neutral-flavored oil can provide a helpful boost. Good choices include avocado oil, light olive oil, or even a very mild peanut or canola oil. This addition helps achieve a smoother consistency without altering the almond flavor.
Raw vs. Roasted Almonds: The Flavor & Texture Showdown
The type of almonds you choose—raw or roasted—is perhaps the single biggest decision influencing the flavor, texture, and blending experience of your homemade almond butter. It truly dictates the character of your final product.
For a deeper dive into this crucial choice, check out our guide on Roasted vs. Raw: Unlock the Best Homemade Almond Butter Flavor.
The Case for Raw Almonds
Starting with raw almonds produces a milder, more delicate almond butter. It boasts a subtle sweetness and a lighter, purer almond essence. However, raw almonds naturally contain less readily accessible oil than their roasted counterparts. This means they often require more processing time in your food processor and may result in a slightly thicker, denser consistency. If you opt for raw almonds, having that optional neutral oil on standby can be particularly useful to achieve your desired creaminess.
The Power of Roasted Almonds
For most enthusiasts seeking that rich, deep, and aromatic almond butter reminiscent of specialty brands, roasted almonds are the preferred choice. The roasting process is a culinary marvel. It doesn't just warm the nuts; it triggers the Maillard reaction, a complex chemical process that creates hundreds of new flavor compounds, leading to that characteristic warm, nutty, and slightly caramelized taste. More importantly, roasting unlocks and releases the almonds' natural oils, allowing them to break down faster and blend more smoothly into a velvety, luscious spread. This significantly reduces processing time and almost guarantees a supremely creamy end product.
Whether you choose raw or roasted, the beauty of how to make homemade almond butter is that you'll always end up with a delicious, wholesome spread free from unwanted additives.
The Magic of Transformation: Step-by-Step to Creamy Perfection
Making almond butter is less about complex steps and more about patience and trusting the process. Your food processor does most of the heavy lifting!
- Roast Your Almonds (If Starting Raw): Preheat your oven to 300-350°F (150-175°C). Spread your raw almonds in a single layer on a baking sheet. Roast for 10-15 minutes, stirring once or twice, until they are fragrant and lightly golden. Be careful not to burn them, as this can lead to bitter almond butter. Let them cool slightly, but they should still be warm when you transfer them to the food processor – this helps them release their oils.
- Process the Almonds: Transfer the warm (or room temperature, if using pre-roasted) almonds to a high-powered food processor fitted with an S-blade. Add a pinch of salt if desired.
- Watch the Transformation (Patience is Key!): This is where the magic happens, but it takes time. You'll observe several distinct stages:
- Stage 1 (1-3 minutes): The almonds will break down into a coarse meal, resembling flour.
- Stage 2 (3-6 minutes): The meal will start to clump together, forming a sticky, dense ball. At this point, you might think it's not working – don't worry, it is! Scrape down the sides of the bowl as needed.
- Stage 3 (6-10 minutes): As the almonds continue to process, their natural oils begin to release. The ball will soften and start to break apart, becoming a thick, pasty consistency. Keep scraping!
- Stage 4 (10-15+ minutes): This is the final stage. The paste will become increasingly smooth, shiny, and liquid, eventually transforming into a glorious, pourable almond butter. Continue processing until it reaches your desired level of creaminess.
Pro Tip: If your food processor starts to get very hot, give it a 5-minute break to prevent overheating. This also allows the almonds to cool slightly, which can sometimes aid in oil release. - Adjust Consistency (If Needed): If your almond butter is too thick for your liking, you can add a tablespoon of neutral oil at a time, processing after each addition, until you reach your desired smoothness.
- Taste and Customize: Once smooth, taste your almond butter. Now is the perfect time to add any optional sweeteners or flavorings (see variations below). Process briefly to combine.
- Store: Transfer your fresh homemade almond butter to a clean, airtight jar. It can be stored at room temperature for up to 1-2 weeks or in the refrigerator for up to a month (or even longer).
To Peel or Not to Peel?
A common question is whether to remove the almond skins. The good news is, you don't need to! The skins blend in smoothly, adding valuable fiber, contributing to the rich, earthy flavor, and providing a naturally deeper color. If you prefer an exceptionally light-colored or marginally smoother almond butter, you can blanch and peel the almonds after roasting, but for most home cooks, this extra step is entirely optional and largely aesthetic.
Beyond Basic: Unleash Your Creativity with Flavor Variations
One of the ultimate joys of learning how to make homemade almond butter is the endless potential for customization. You are the master of your spread! Here are just a few ideas to spark your culinary imagination. Many of these can be added during the last few minutes of processing or stirred in at the end.
For even more exciting ideas and a deep dive into creating super creamy results, explore our article on Super Creamy Almond Butter: Just 1 Ingredient & Flavor Variations.
- Sweet Almond Butter: Stir in 1-2 tablespoons of honey, maple syrup, agave nectar, or even a few pitted Medjool dates during the final stages of processing.
- Spiced Almond Butter: Add ½ to 1 teaspoon of ground cinnamon, cardamom, pumpkin pie spice, or a dash of nutmeg. A splash of vanilla extract can also add wonderful warmth.
- Chocolate Almond Butter: Incorporate 1-2 tablespoons of unsweetened cocoa powder or cacao powder for a healthy, indulgent treat. You can sweeten it further with a little maple syrup.
- Coconut Almond Butter: Add 2-3 tablespoons of unsweetened shredded coconut during the last few minutes of processing for a tropical twist.
- Coffee Almond Butter: A teaspoon of instant espresso powder can add a sophisticated depth of flavor.
- Crunchy Almond Butter: For texture lovers, simply stir in a handful of finely chopped roasted almonds after the butter is fully processed.
Experimentation is key! Start with small amounts of flavorings and adjust to your preference. This freedom to innovate is something you'll never get from a store-bought jar.
Why Homemade Reigns Supreme: The Fresher, Cheaper, Better Advantage
Once you experience your first bite of homemade almond butter, it's hard to go back. The differences are palpable:
- Unmatched Freshness: The flavor of freshly roasted and processed nuts is simply superior. You taste the true essence of almonds, unmasked by stale oils or artificial additions.
- Cost-Effective: Buying raw almonds in bulk is almost always more affordable than purchasing pre-made almond butter, especially organic or specialty brands. You're paying for the processing and packaging, not just the nuts.
- Purity and Control: You dictate every ingredient. No added sugars, hydrogenated oils, emulsifiers, or preservatives you can't pronounce. Just pure almond goodness. This is a huge benefit for those with dietary restrictions or specific health goals.
- Customization: As we've seen, the ability to tailor sweetness, spice, and texture is a luxury store-bought brands can't offer.
Conclusion
Mastering how to make homemade almond butter is a simple yet incredibly rewarding culinary skill. It empowers you to create a superior product that is not only more economical and healthier but also perfectly customized to your unique taste. From the rich, deep notes of roasted almonds to exciting flavor variations, your homemade spread will undoubtedly become a staple in your kitchen. So, gather your almonds, fire up your food processor, and prepare to elevate your toast, smoothies, and snacks with the freshest, most delicious almond butter you've ever tasted.
